
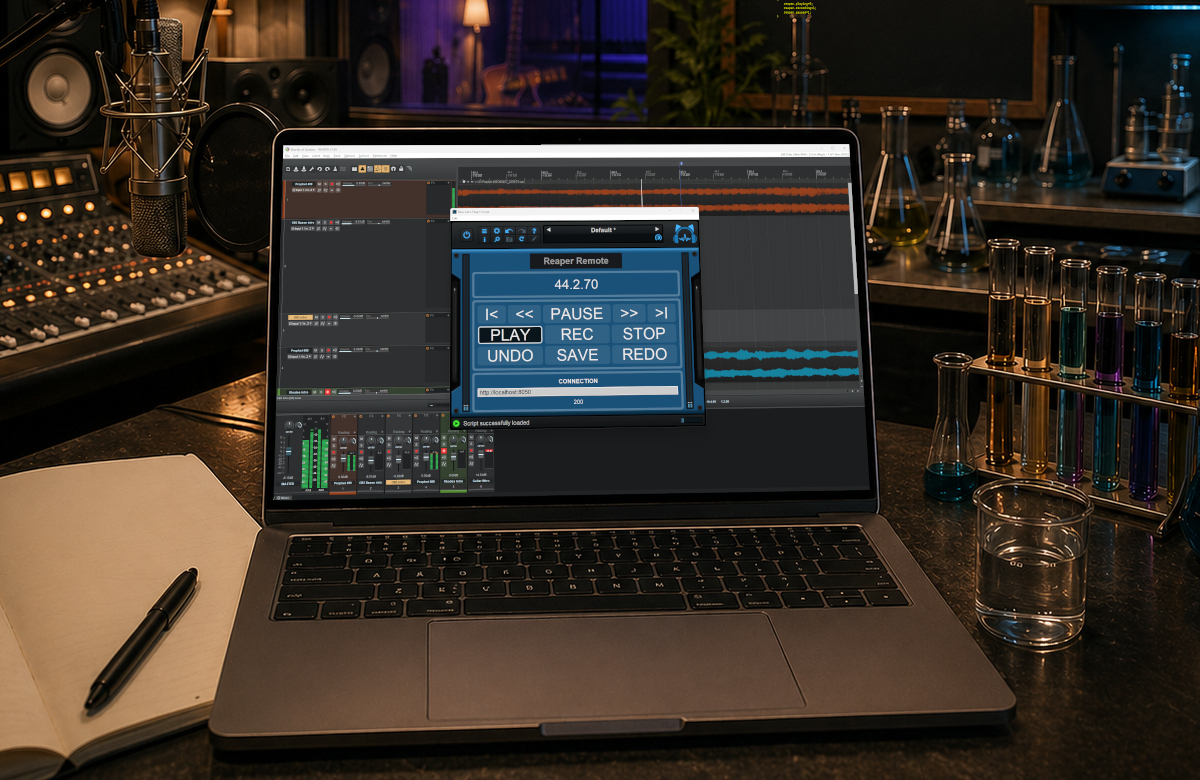
Straight from the lab, here is a free remote control plug-in/app for Reaper made with Plug’n Script!
[July 2026 Update: adjusted connection timeout to avoid waiting for too long when Reaper server cannot be reached]
A Remote Control Plug-In?
These days I tend to work more and more with multiple machines, either connected with Fader Hub & Connector, or simply using multiple DAWs.
Reaper provides a web app to control it remotely (mainly from a phone), but it is not convenient to use on a PC or a Mac while working with real-time audio apps (web browsers tend to cause audio dropouts and other performance issues). Also, you usually want to work directly from your main audio application and not open a web browser just to start/stop transport or recording.
So a remote control as a plug-in that is fully integrated into the app in use is much more convenient and efficient. Also, even locally, if you are using multiple monitors, you can keep a window with the remote control open to access basic transport features quickly, outside of Reaper’s main window.
Features
I mainly use this remote control to record takes from other machines than the main DAW, running Blue Cat Audio software such as Fader Hub (Drums, keyboards), PatchWork (vocals or virtual instruments such as electronic drums), or Axiom (guitars, bass guitars). So the remote control provides the following capabilities:
- Transport position monitoring (measures/beats)
- Transport navigation: go to start/end and quick jumps.
- Transport control: play/pause/stop/record
- undo/redo control
And that’s it. Many more commands are available from Reaper remotely, and it is pretty easy to add more in the script if you want to (see below).
How to Use the Free Reaper Remote?
1. Download the script
Download the free script here, unzip the archive and copy the files into [YOUR DOCUMENTS]/Blue Cat Audio/Blue Cat’s Plug’n Script/Scripts/.
2. Load Plug’n Script
Load the Plug’n Script plug-in in your host/DAW of choice, or launch the standalone application (please make sure to get the latest version for the script to work fine: PnS 3.61 or newer).
You do not own Plug’n Script? No problem, just download the free demo. It will work fine with this script without any limitation, as no audio/MIDI processing is involved.
3. Load the Reaper Remote Script
Open the edit pane and load the script from the list:
4. Connect to Reaper
Make sure to enable the Web browser interface in the Reaper preferences:
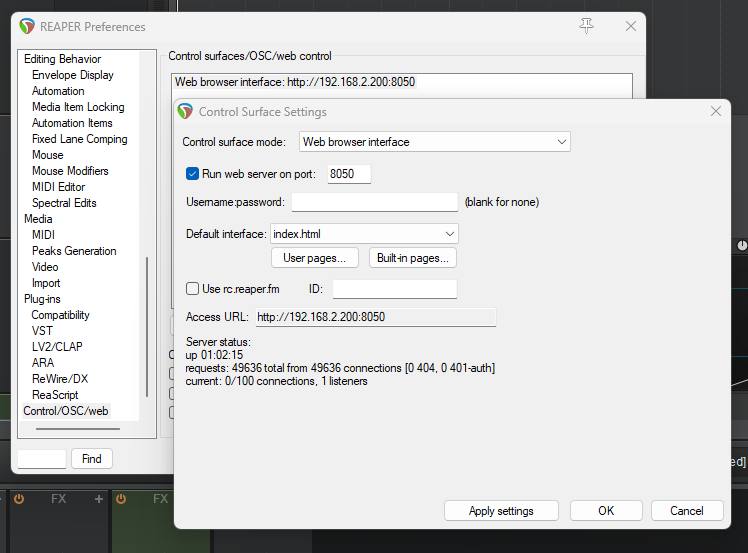
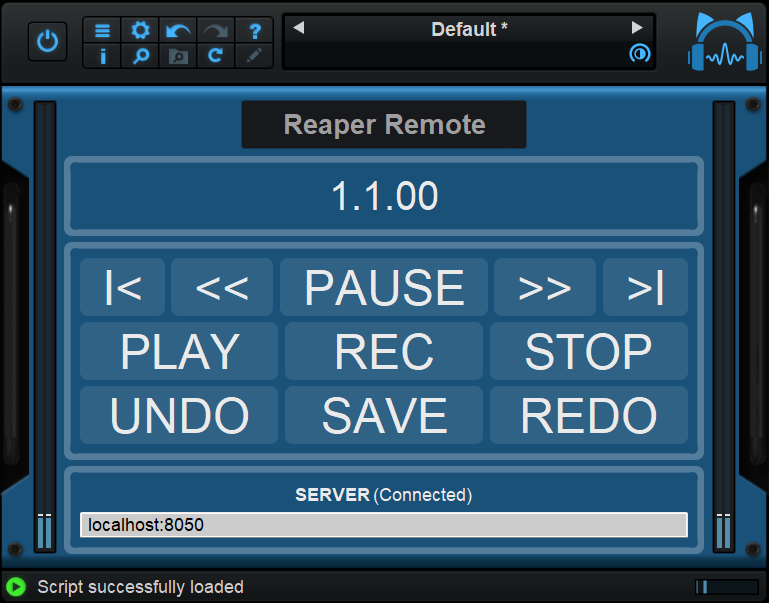
Then simply copy and paste the access URL into the Reaper Remote user interface, then hit enter. The remote control should connect to Reaper if it is running:

That’s it, you can now use the remote control! You can also save this as a preset to load it quickly next time.
Enjoy!
Troubleshooting
If the remote control does not connect to Reaper, you may want to check that Reaper is running and that on both the client (remote control) and server (Reaper) machines, the connections are not blocked by a firewall.
Enhancing the Remote Control
The code for the remote control is fully open source, you can get it here on github, or directly edit the reaper-remote.kuiml file on your machine. The dsp script is empty (just declaring the connection string so that it gets saved with presets).
Adding Actions
You can create remote actions easily using the provided template built around the LoadUrl action:
<TEMPLATE id=“TPL_REAPER_ACTION“>
<STRING id=“_$id$_url“/>
<STRING_MULTI_LINK from=“$script_input_string0$;empty_string” separator=“/_/$reaper_action_id$” to=“_$id$_url“/>
<ACTION id=“reaper.$id$” type=“LoadURL” url_string_id=“_$id$_url” response_status_param_id=“response_param” timeout_seconds=“5“/>
</TEMPLATE>
Instantiating a remote action is as simple as writing the following line, using the action identifier that can be found in Reaper’s action list (activate the option to show the identifier):
And a new button to trigger this action can be added in the layout at the bottom of the KUIML file with the following lines:
<TEXT value=“STOP“/>
<INVISIBLE_ACTION_BUTTON width=“100%” height=“100%” action_id=“reaper.Stop” cursor=“system::hand“/>
</CUS_MONITOR_GROUP_BOX>
Displaying Transport/Session Data
Retrieving data from reaper relies on a different action template, to store the result in a string:
<TEMPLATE id=“TPL_REAPER_GETDATA_ACTION“>
<STRING id=“_$id$_url“/>
<STRING_MULTI_LINK from=“$script_input_string0$;empty_string” separator=“/_/$reaper_data_id$” to=“_$id$_url“/>
<ACTION id=“reaper.$id$” type=“LoadURL” url_string_id=“_$id$_url” response_status_param_id=“response_param” response_body_string_id=“$result_string_id$” timeout_seconds=“5“/>
</TEMPLATE>
For transport info, the action is the following, getting triggered by a timer every 50 ms (only if the request is not still running to avoid overflow in case of connection problems):
<!– Refresh timer to load transport data –>
<TIMER id=“refresh_timer” refresh_time_ms=“50” enabled=“true“/>
<ACTION_TRIGGER event_id=“refresh_timer.elapsed” condition_formula=“reaper.GetTransportStatus.running==0” action_id=“reaper.GetTransportStatus“/>
The current implementation uses a simple script triggered by any change on the response body string to parse the response (simple tab-separated text), and store the transport status as well as the transport position string.
It can be modified to show other information. You can also use other queries than TRANSPORT to get more information from the current session.
Enhancing the User Interface
The user interface is pretty basic (on purpose), but you can of course use fancier graphics with a different layout using the KUIML language.
Feel free to share your enhancements with the community!


