This tutorial shows how to reuse the envelopes generated by our plugins with output parameters in MOTU's Digital Performer 7 host software. As of today Digital Performer does not receive MIDI events from Audio Units, so you cannot connect our plug-ins together via MIDI like you may do in other hosts applications. But it is still possible to use automation lanes to perform similar side chain tasks.
In this example we are using the DP Meter Pro plugin (DPMP) in order to modify the parameters of an effect on a destination track, according to the envelope of an other track (source). You can of course ue the same technique to perform side chain tasks in DP7 with any of our plug-ins with output parameters.
Step By Step
00 - In the Preferences pane, change the plug-in mode and adjust the events density (lower is more precise but higher CPU):
.png)
01 - Insert the DPMP on the source track:

02 - Adjust the generated envelope to fit your needs (you can check the shape on the graph in real time):
.png)
03 - Open the DPMP preset settings window:
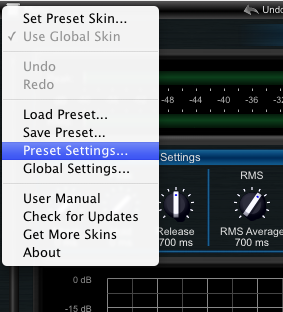
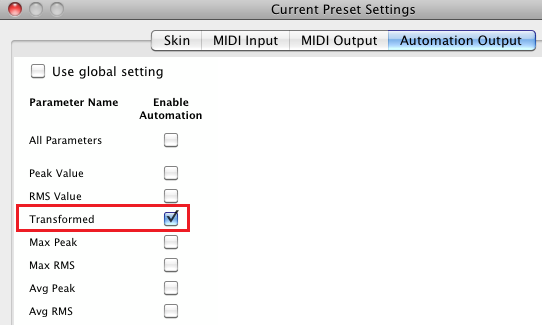
04 - Enable output automation for the 'transformed' parameter:
05 - Enable Automation recording on the source track:
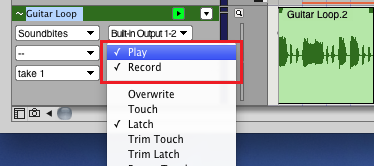
06 - Play - Automation will be recorded on the source track:

07 - Select the automation events in order to see the result:
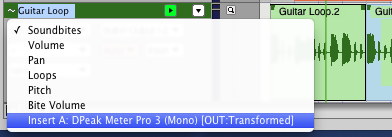
07.1 - You can see an automation lane showing the generated envelope:

08 - Double click on the envelope to select it:

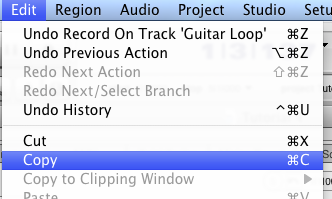
09 - In the edit menu, select copy:
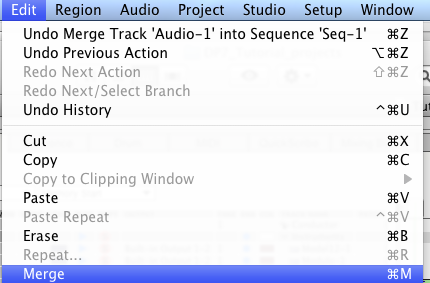
10 - Select the destination track and use the merge function to paste the automation lane:
11 - On the destination track, double click on the automation lane to select it:

12 - In the Region menu, select the Reassign Continuous Data command:
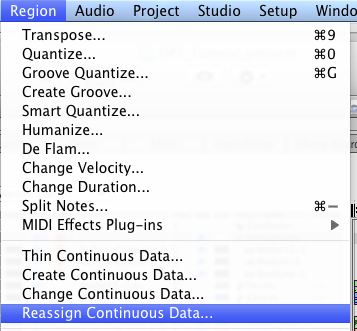
13 - Select the destination parameter (audio volume in this example, but any other parameter can be chosen):
.png)
14 - The chosen parameter on the destination track is now controlled by the automation lane generated from the source track envelope:

You have learnt how to use the DP Meter Pro plugin (DPMP) in MOTU's Digital Performer 7: you are now able to reuse automation curves generated by our plug-ins to control other parameters for other effects on other tracks. This technique can be used for side chain compression, ducking, voice over, etc. You can check out our other Tutorials to see example of tasks you can automate thanks to this technique.
Many thanks to Robert Normandeau for his help with Digital Performer's settings for this tutorial.
Any questions, comments? You want to submit your own tutorial to win a free license? Please post on our Forum!
