The Blue Cat's Gain Suite free volume control plugins offer the ability to link several instances of the same plugin to control them with a single slider. This tutorial shows how to use this capability to control the balance between two tracks (the drums and bass tracks in this example) with a single slider.
This tutorial uses Cakewalk Sonar as a host, but you can use any other VST or DirectX compatible host application.
Step By Step
01- Insert the Blue Cat's Gain (Stereo) plugin on both tracks:
 plugin on both tracks.png)
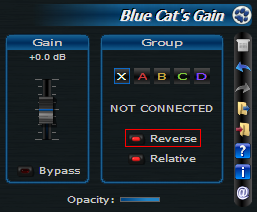
02 - On one of the tracks, hit the 'reverse' button of the plugin:

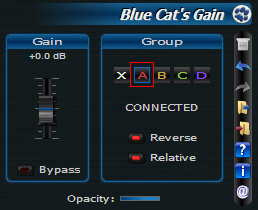
03 - On each track, connect the plugin to the A group by clicking on the 'A' button:

04 - Increasing the gain on a track now decreases it on the other track, and the plugin pair acts as a balance control:

05 - You can record automation on both plugins:
Note that moving one single slider lets you record the the gain parameter variations as automation curves for both plugins at the same time. Next steps show you how to do it.
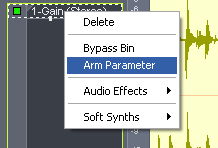
06.1 - For each track, open the automation window...:

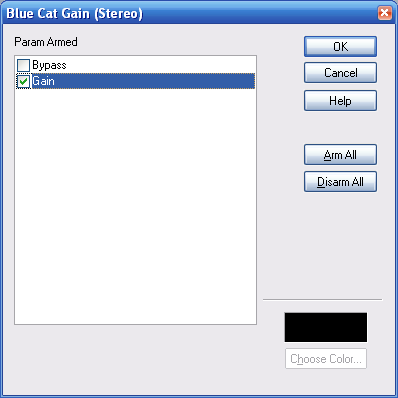
06.2 - ...And arm the gain parameter:

07 - Hit the 'record automation' button (or the play button with Sonar 6):
.png)
08 - Moving one single slider will produce two reversed automation curves (one on each track):
.png)
This tutorial has shown you a very simple way to control the balance between two tracks with a single slider. It is a simple example of the grouping capabilities of the Blue Cat's Gain Suite free plugins.
You can now extend this tutorial by yourself and use this capability for your own needs: group mixing, linked gain control anywhere in a signal chain (for example to modify the volume in the chain without modifying the overall level)...
Any questions, comments? You want to submit your own tutorial to win a free license? Please post on our Forum!
